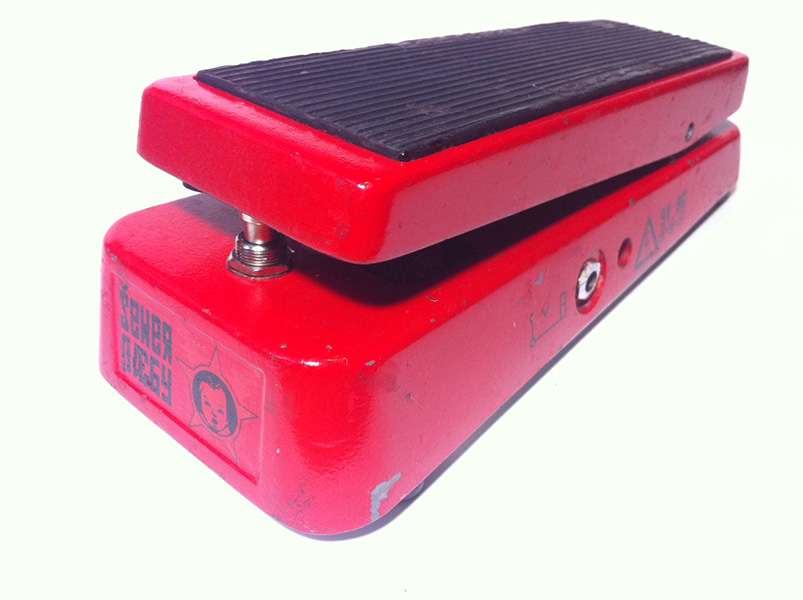
In the last installment of this thrilling three part series, I covered the internal changes I made to my Crybaby GCB-95 wah, which became my treasured Sewer Bæby. Being that was one of my first excursions into pedal modifications, I decided to take it all the way to learn a thing or three. I wanted to muck about with the aesthetics to show pride in my work, so I learned at least one way to reskin this cat.
The best way to paint any stomp box is powder coating. That’s the process whereby particles of color are electro-magnetically applied to a metal and then cooked on to form a super protective layer of paint. That’s the way the pros do it. I’m not a pro. I didn’t have the luxury of owning a powder coating system when I did this and I imagine most people never will. Cans of paint it is.
First, I had to disassemble the wah. Most of it is easy (so long as you didn’t glue in an LED, like I said to hold off doing in the last related post). Unscrew the feet and the bottom pops off. I highly recommend using a socket wrench to carefully remove the bolts holding in the EASILY STRIPPABLE plastic PCB mount jacks. It all seems easy… until you get to separating the base and the treadle. There’s an axle pin holding it to a metal tension rod attached to the base. It’s got to be hammered out.
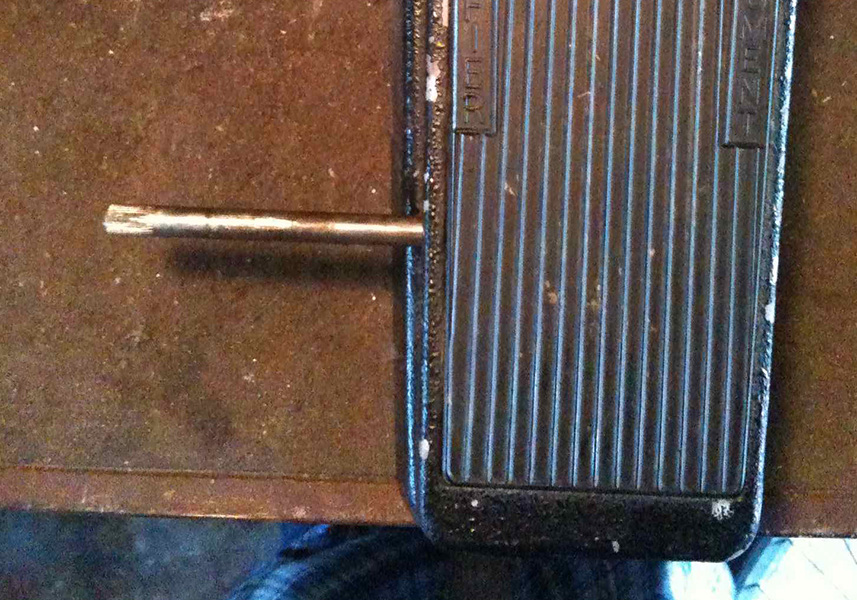
The tension rod holding the axle can be removed by loosening the exposed bolts on the inside of the wah chassis. Then the axle can be hammered out using a hammer and a nail set. The trick is to go the right direction.
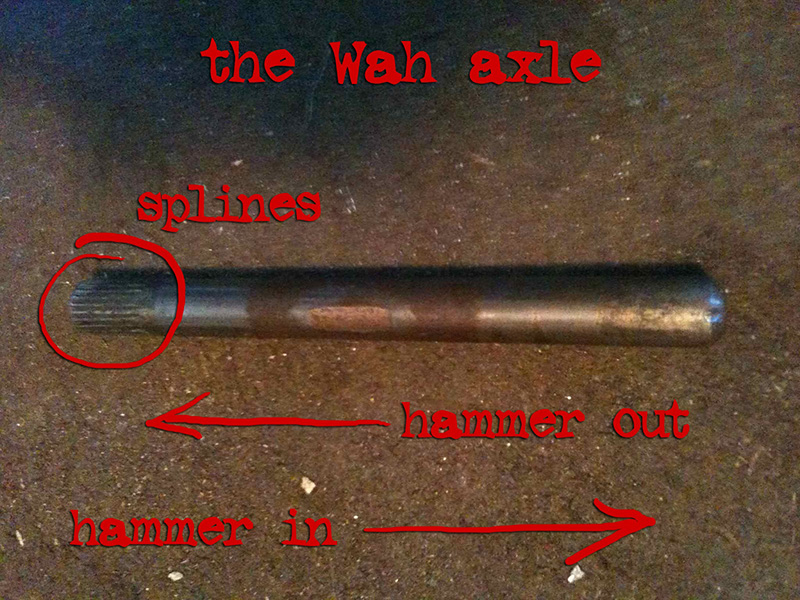
The axle has splines on one side to grip the wah treadle. The other side is (usually) shaped to help guide it into the holes when the wah is first manufactured. To avoid too much damage on the splines, hammer the opposite side when getting the axle out. When it comes time for reassembly, hammer the smooth side in first so the splines don’t have to get drug through the whole assembly.
One thing I never did was remove the rack from the treadle that drives the rack and pinion gear assembly. I couldn’t find a replacement for the pin holding it that I was sure to damage. The paint job I was doing was all air dry, though, so I moved on. Ce la vie. Maybe I’ll figure it out another time.
The rubber foot pad was next. I just peeled it off and cleaned away the glue residue with a little Goof Off. Mineral spirits or nail polish remover might also work.
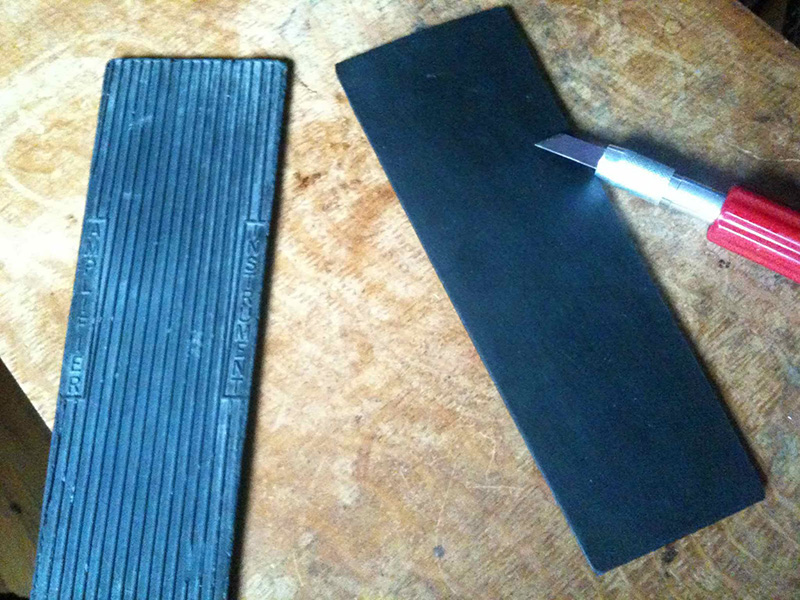
With everything taken out of the shell, I removed the paint. The first time I did this, I sanded all the original powder coating off. What a pain in the ass. If you’re comfortable with it, I’d recommend using some Jasco paint remover to get the bulk off. It’s nasty stuff. You’ll need heavy duty gloves and a mask, but it’s fast and does the job way cleaner than sand paper. Just be careful of that plastic rack, if it’s still attached to the treadle. The Jasco can dissolve it. And then… look at that shine!
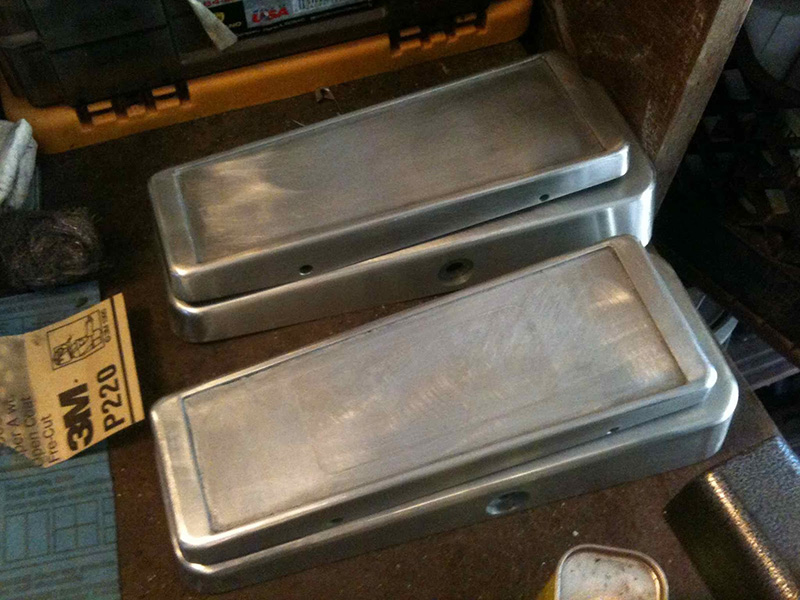
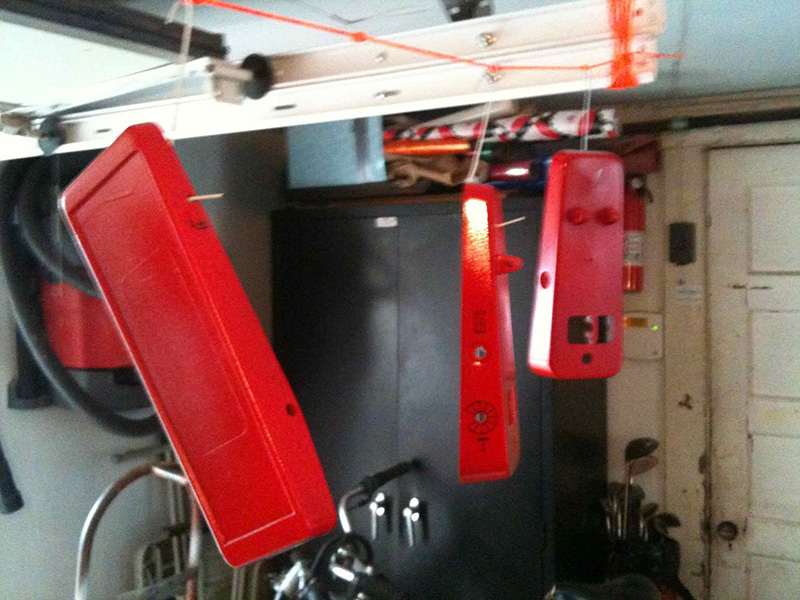
Yes, there are two here, because some of these pictures are from subsequent wah modification projects. Bare with me, here. [not a malaprop; pun fully intended]
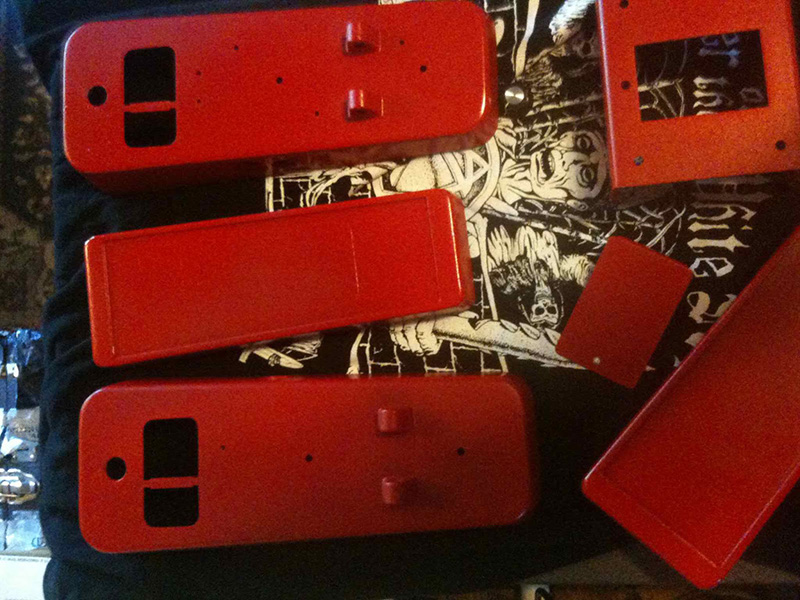
I built a little spray booth from an old plastic bin. I used wire hangars to hang the parts so I wouldn’t have to touch the pieces and I could hang them to dry. The painting process went as follows:
• Rust-Oleum self-etching primer: the self-etching primer bonds better to the exposed metal.
• Rust-Oleum engine enamel paint: I figured that’d be pretty fucking strong compared to most paint. I waited a day and did a second coat.
• Hung out to dry.
Once my parts were dry, I wanted to add some lables… like, WAY too many labels.
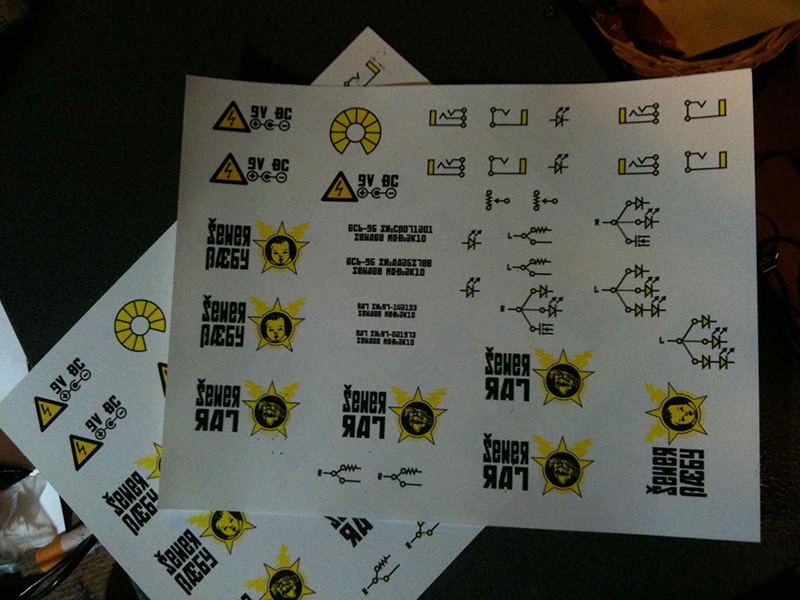
I designed these in Illustrator and printed them out on Papilio Laser Printer Water Slide Decal paper. It took a few sheets to get the right setting on my printer and not have the sheets glue themselves to the printer drum head. Once I got it, though, the labels came out fantastic. The lighter colors do get swallowed up a bit, but it still looks rad.
After doing this a few times, I now make the labels’ negative space larger and match the entire measurements of the side they are going on. That hides the edges better. The labels are super easy to apply; just cut ’em out, soak in warm water, and the clear label slides off ready to apply on any surface. It’s just like those old airplane models that nobody ever made.
Once the labels are dry, I finish up the paint job with a coat of Varathane Polyurethane gloss spray. That protects the labels and gives that extra gloss, manufactured look. It also helps hide the edges of the label a bit more. Additional coats can make it look even shinier and fancier by adding more depth to the surface.
It’s relatively easy to reassemble, though getting the axle and tension rod back together can be a bit tricky. Assemble the tension rod loosely, hammer the axle back in through the space, and then tighten the bolts inside the base with a socket wrench. I reattached the rubber pad to the treadle with some Loctite quick-set epoxy. The rest is a snap… just reverse what ya done to take it all apart.
If you’re missing some manufacturer specific parts for your wah, like feet, battery cover, Hot Potz, gears, etc., I recommend the fine folks at Antique Electronic Supply. They have all the original Dunlop parts you might need along with a slew of after-market upgrades and add ons. They always give me fast service and seem to have some of the cheaper prices for this generally overpriced shit.
Impaled's fuckin awesome