
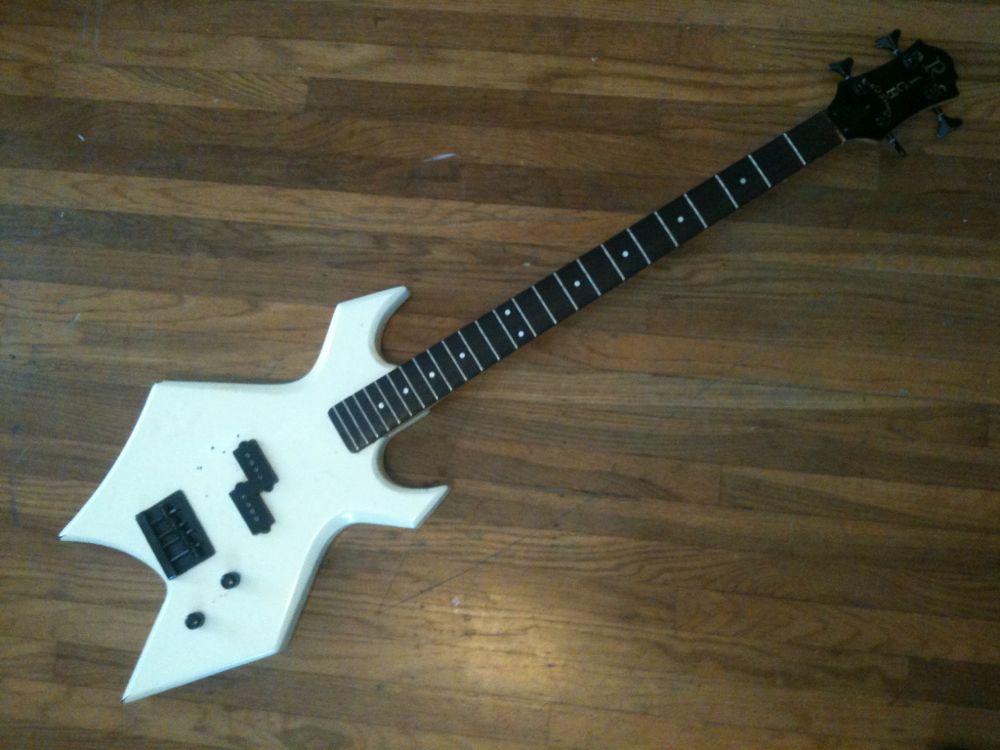
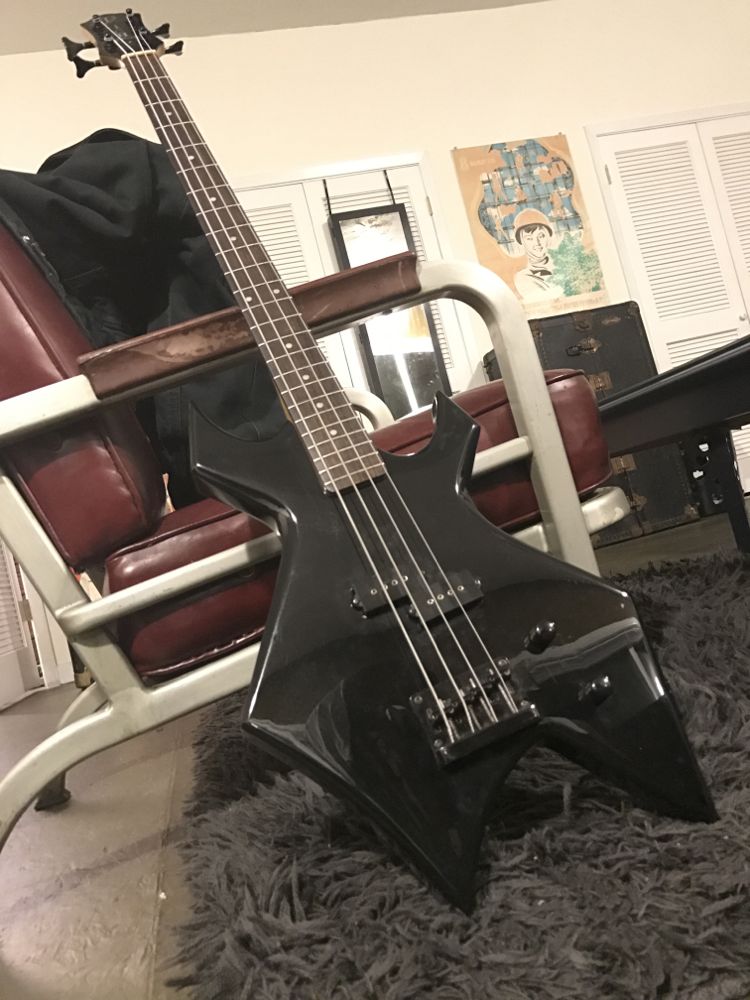
More than a decade ago, I bought a really old NJ series B.C. Rich Warlock bass from my friend Lorraine. I think she was ready to ditch pointy bass guitars for something classier as she went on to play in some excellent bands like The Gault and Worm Ouroboros. It came with a weird whitish-sparkly body, lots of dings that I added to, and multiple failed drill holes for a thumb-rest. I treated it as a beater bass I could fly with if I took the neck off. Well, that lil’ beater looks like this today.

And it also belongs to my wife now. It’s practically brand new, but with a vintage pedigree. This was a classic NJ series Rich, with its serial number planting its birth somewhere in Nagoya, Japan during the early eighties. The NJ guitars were real quality, then. I decided to give it new life. The project took me almost seven years to complete. But it was worth it to give my wife an awesome Christmas present.
I’d been a pretty lucky fella when it came to finding old B.C. Rich basses for cheap back in the day. My American-made Ironbird will always be my go to, but this Warlock got some fair time from me in the early noughties.

I’ve even lent it to some real nasty fellas to rock out on.

In 2010, when I was practically jobless and forced to delve full force into the D.I.Y. world to keep my gear in shape, I looked at this bass again. Honestly, it was to try and sell it to make rent. I offered it to a few people, but no takers. It always struck me as odd that the headstock was black and the body a stupid, sparkly white. That, and the multiple holes drilled into the body for a stupid thumb rest were a real bummer.
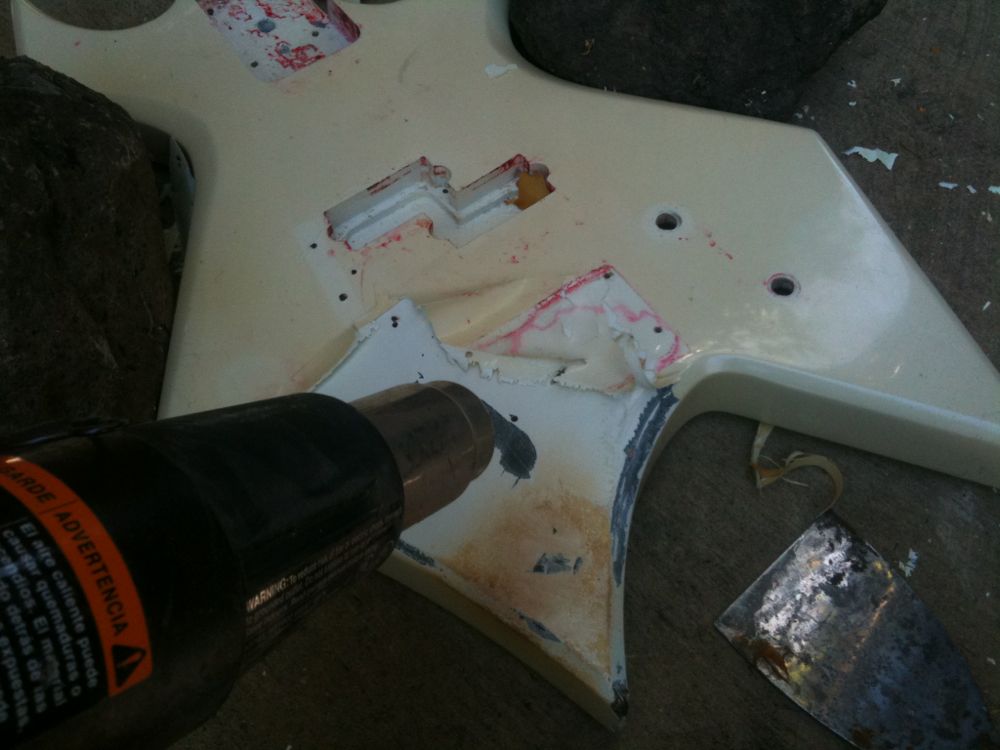
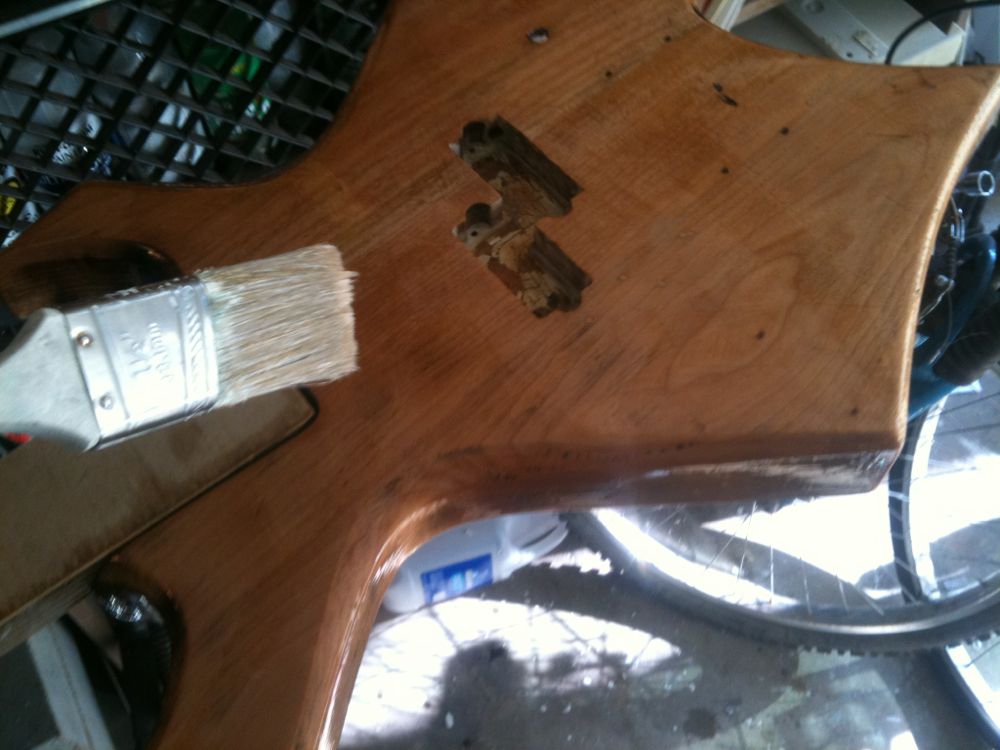
Hey, maybe if it was all black, that would help me sell it! And it would make a cool entry for my blog seven years later! I took the bass apart and began to strip the body of its previous paint job using a heat gun and scraper.
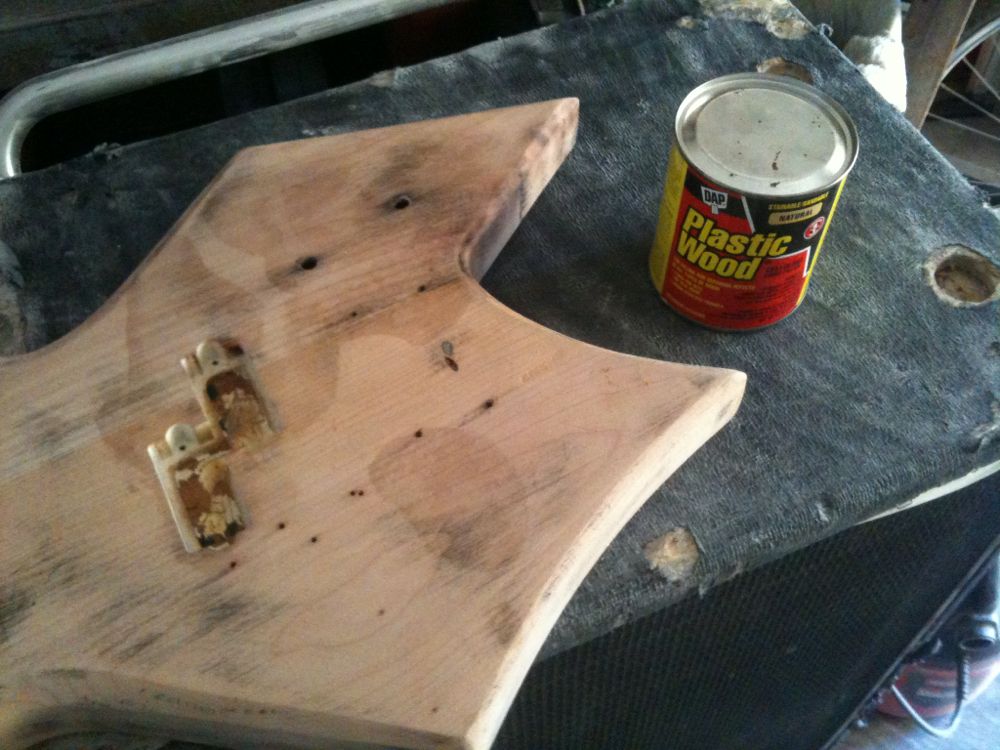
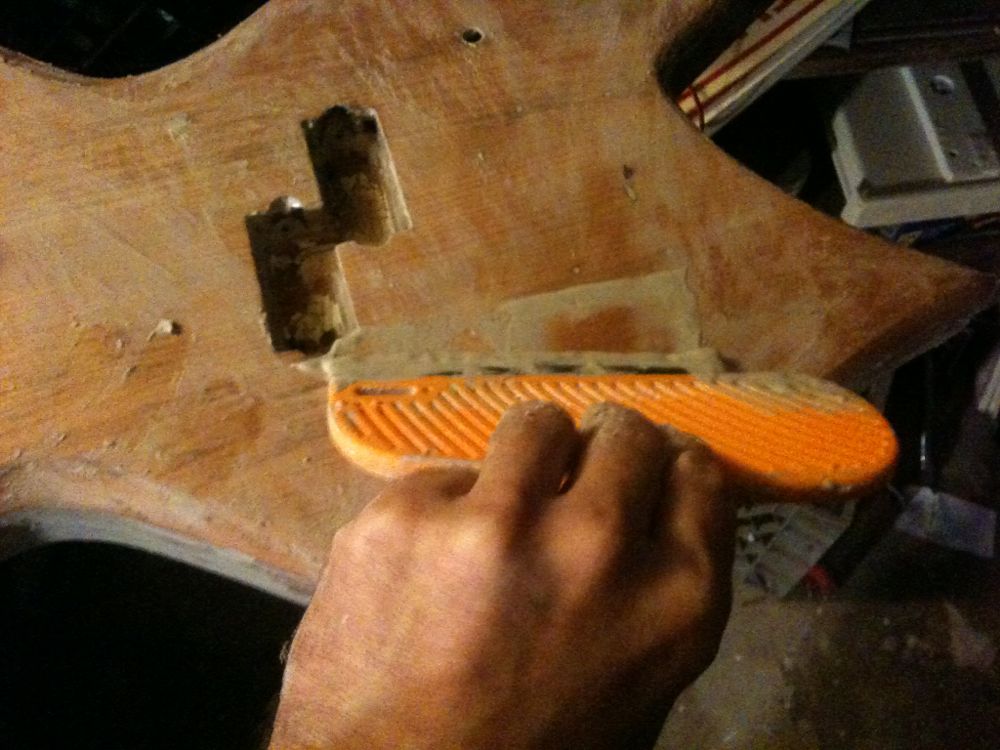
Then I filled in the holes and sanded out the nicks and scrapes it had suffered through the decades (and from my bullet belt). This part was really easy and very satisfying using DAP Plastic Wood.
A little nastier was applying the grain filler. This is necessary to ensure a fine, smooth finish over the wood. But even harder was finding it. As this process continued, getting shit from Home Depot got harder and harder. At the time I started this process in 2010, there was a cool shop in nearby Alameda that specialized in wood finishing. It’s a fucking golf supply store now. Well, lucky it was there for me then.
After the grain filler, a sanding sealer is applied. This smooths out the grain even more and makes a nice layer for a lacquer to go over. I think. Honestly, I was just following directions, ya know? I wasn’t a woodworker, just a poor dude with some time on his hands.
Next, before any color, it was time to primer the body. I attached a piece of wood to where the neck used to be in order to handle the body without touching it. I put foam in all the cavities I didn’t want painted and sprayed it in my back yard.
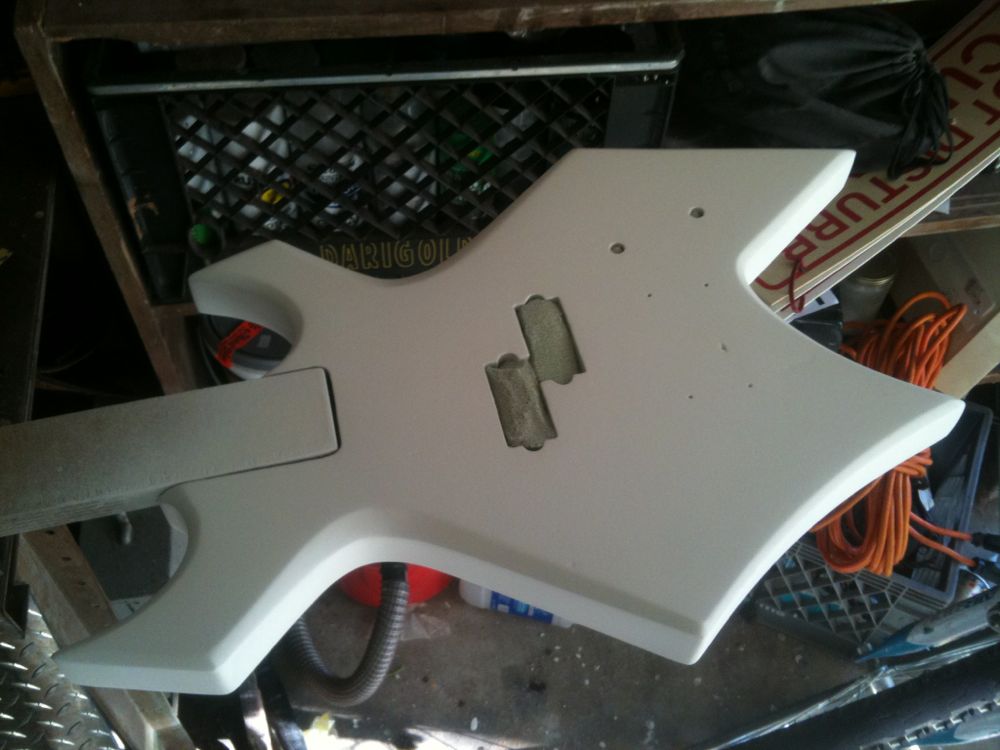
This part worked out okay despite my primitive conditions, because it’s just primer. When it came to the applying the black, I kinda fucked up. Without controlling for a little breeze and no real experience, my layer of black was left with dimples that could not be sanded out without showing through a final gloss cover coating. Ugh.
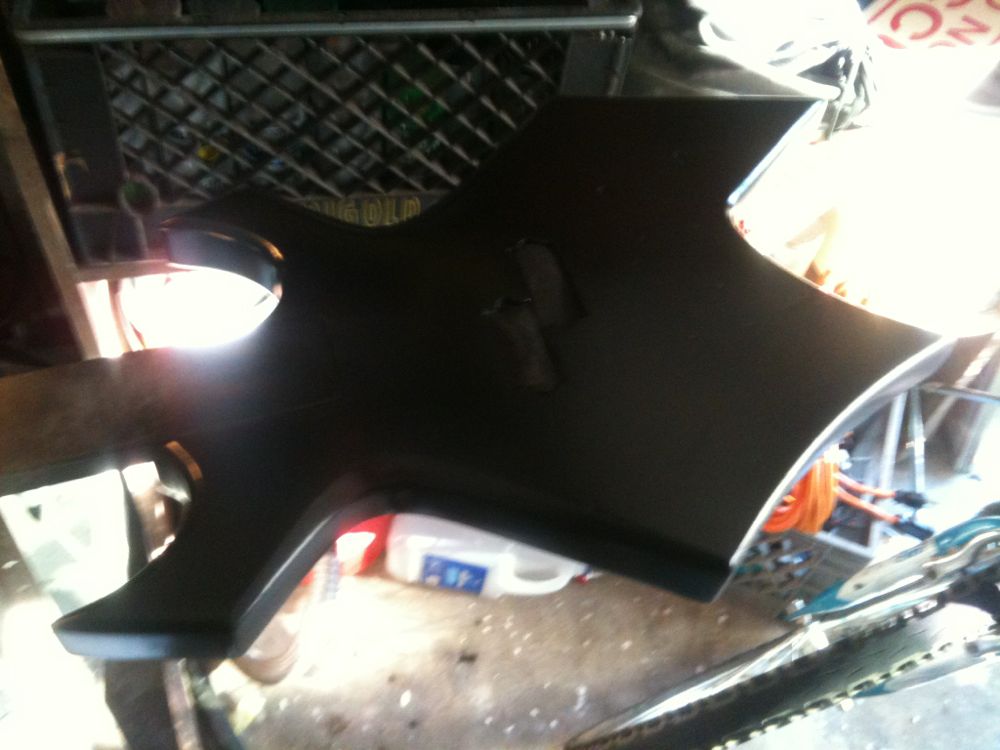
At this point, I kinda gave up. I didn’t want to strip it and start over. I didn’t really know what to do. I’d hit the limit of my experience, YouTube videos, and working conditions. So, the bass went into storage. But never give up, never say die! And never be afraid to ask someone better than you to help finish!
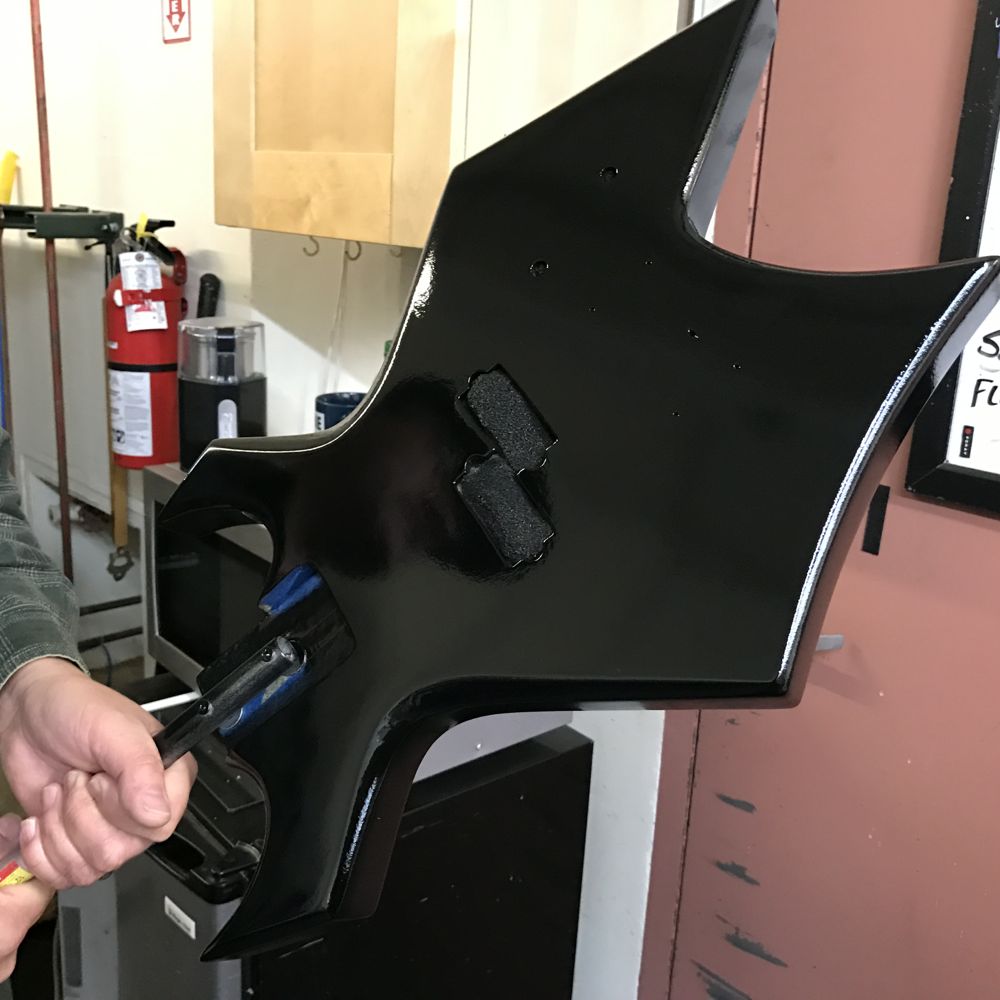
Years later, a fella named Benny Rodriguez moved his business into the same complex as my employ, Monolith Press. He makes and repairs guitars. You can check out his website at http://www.bjrguitars.com and see the work of the man who saved what I nearly fucked up. Luckily, what I had already accomplished was salvageable and earned me a bit of a discount. Benny had the knowledge and equipment to give the final coatings the professional look they needed.
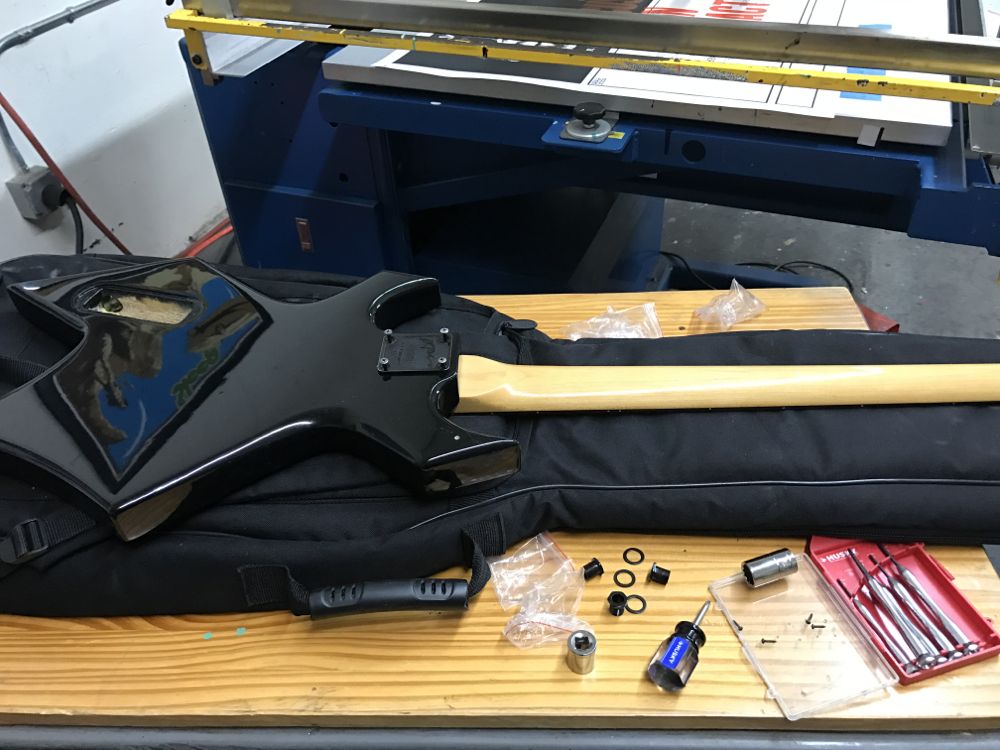
I installed new tuning machines for the Warlock and took to replacing the electronics and hardware. Just one issue… I still have no idea how the original builder got the ground wire form the cavity to under the bridge. It was perplexing… it wasn’t a straight line but two tunnels that met perpendicularly. I couldn’t for the life of me thread it. So, I had to go and buy an 1/8″ “aircraft” drill bit. Basically… a really, really long bit. This made me super fucking nervous, since I had already paid for the paint job. But dammit, I REALLY wanted to finish my wife’s Christmas present. So I set my drill to an angle and went to town.
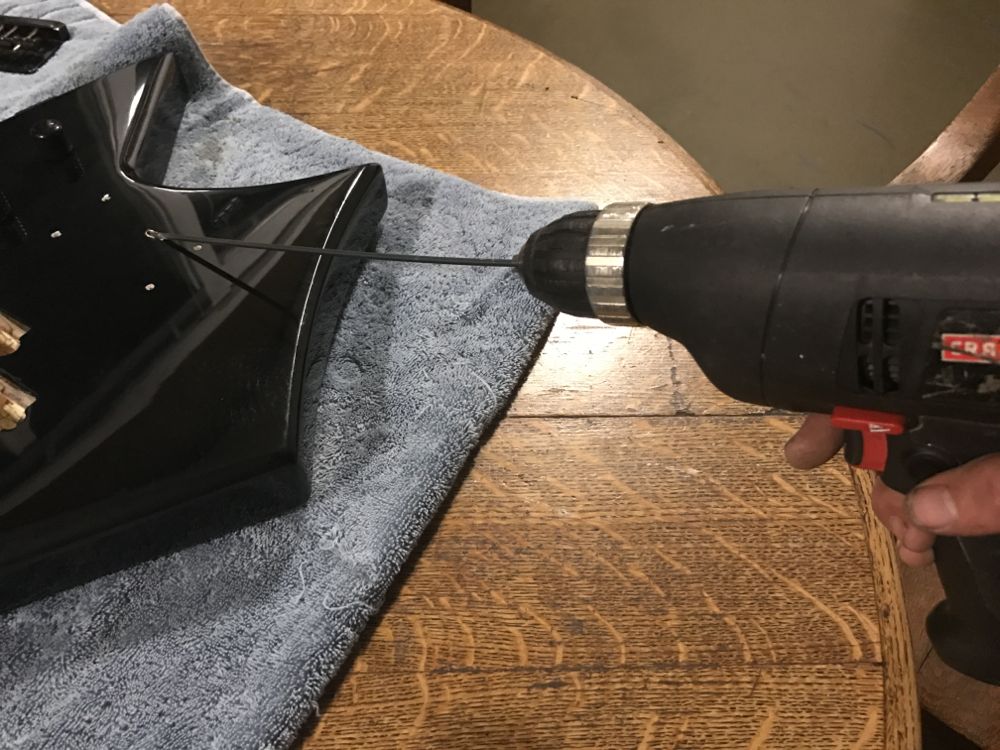
And success! Carefully gauging the angle and repeatedly pulling out the bit to get rid of wood pulp, I made a straight tunnel to the cavity and was able to rewire the bass. Now, she has a bass to match her hero, Nikki Sixx, and I have the satisfaction of having helped give a beautiful make over to a classic bass.
Nice job. I’m in a similar situation. Some poor quality spray can caused splatters. Glad to see that a thick clear coat can remedy most of that.